From Seed to Storage: Mastering the Art of Drying Homegrown Beans
There's an unparalleled joy in cultivating your own food, and few things bring as much satisfaction as a successful bean harvest. This year,
we grew black and yellow beans, transforming a past struggle with bush beans into a vibrant success story. After previous lukewarm attempts, our 4x4 raised beds overflowed with thriving bean plants, shifting our perspective entirely. The journey from planting tiny seeds in June to harvesting plump, dry beans in September was incredibly rewarding, proving that with a little persistence, even challenging crops can yield abundant results. We're already planning to dedicate our beds entirely to beans from spring through fall next year, fueled by this year's incredible bounty of black and yellow eye beans.
The Journey from Seed to Harvest: Our Black and Yellow Beans
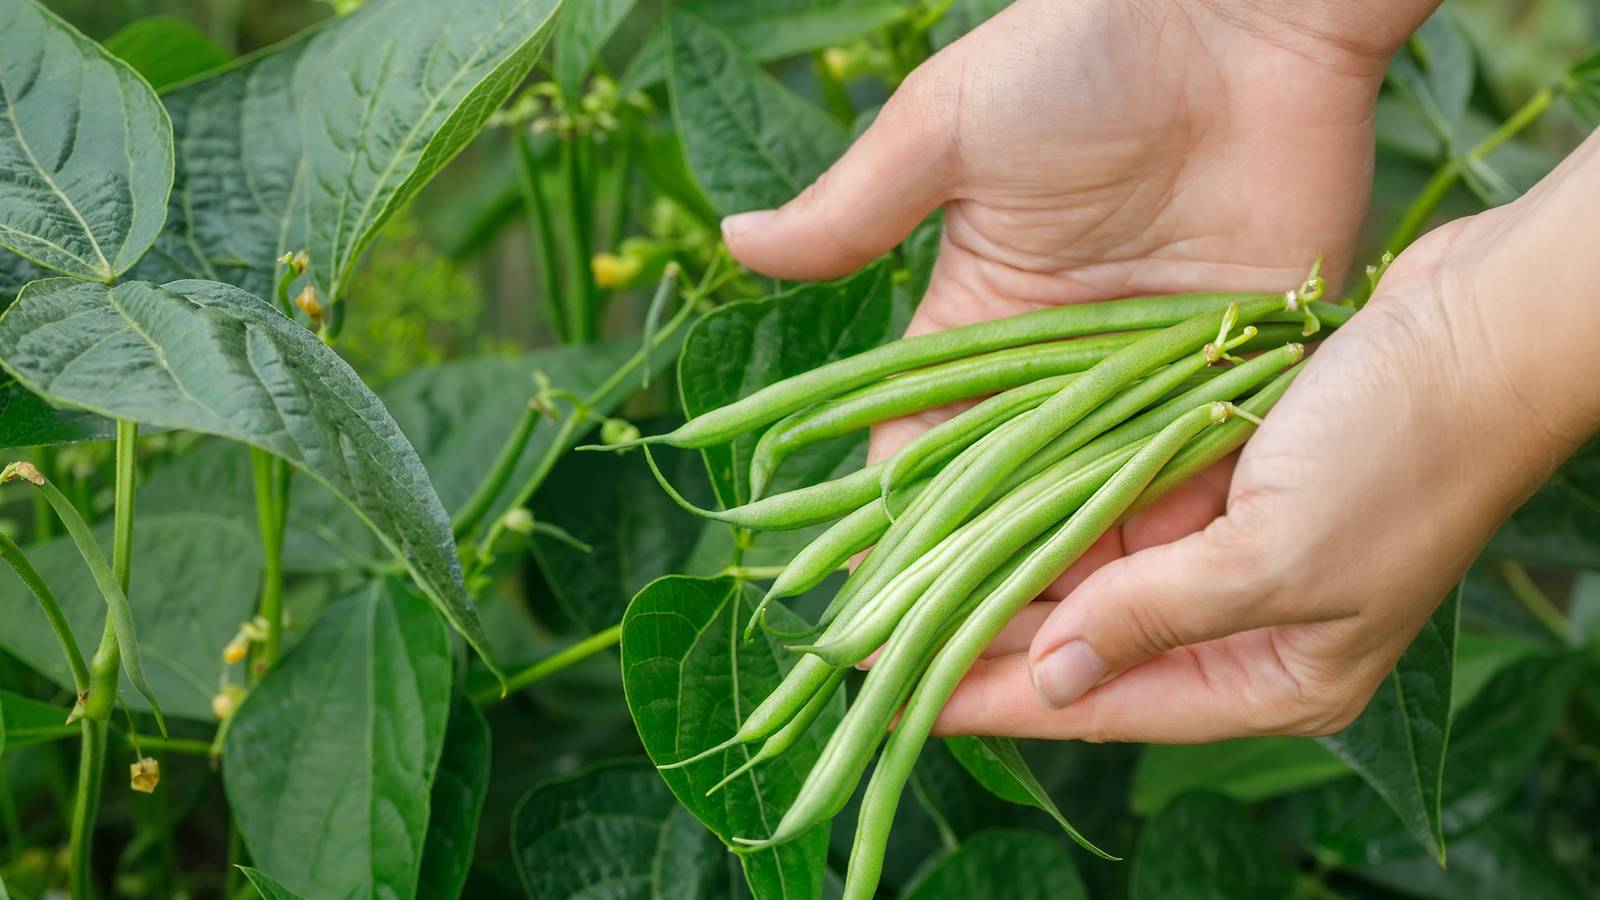
Our bean adventure began on June 26th, when we directly sowed black bean and yellow eye bean seeds into the soil. These specific varieties were chosen for their distinct flavors and beautiful appearances, promising a rewarding harvest for storage and culinary delight. Bush beans are generally a great choice for smaller spaces like raised beds, as they don't require trellising and mature relatively quickly. Over the summer, the plants flourished, their leaves a vibrant green, and soon, delicate flowers gave way to developing pods. We watched patiently as the pods swelled, gradually changing color and texture, signaling the approaching harvest.
On September 11th, the big day arrived. Many of the plants showed visible signs of drying out, a crucial indicator for dry beans. Unlike snap beans, which are picked green and tender, dry beans need to remain on the plant until the pods are brittle and the beans inside have fully matured and dried. This initial drying phase on the plant is fundamental to achieving a perfectly shelf-stable product. Understanding this distinction is key for any gardener looking to grow dry beans for storage.
Mastering On-Plant Drying: Nature's Way
The ideal scenario for harvesting dry beans is when they have completely dried on the plant. This natural process allows the beans to cure perfectly, reducing their moisture content to a safe level for long-term storage. When you look at a thriving bean patch ready for harvest, you'll notice some plants are significantly more dried out than others – this is exactly what you want to see. The pods will feel papery and brittle, often turning yellow, brown, or straw-like.
Recognizing Perfectly Dried On-Plant Beans
How can you tell if your beans are truly dry and ready to be picked straight from the plant? It's simpler than you might think. A good visual cue is the condition of the plant itself: if it's shriveled and dried, its energy entirely dedicated to drying the beans within its pods, you're on the right track. The most reliable test, however, is auditory: give a dried pod a gentle shake. If you can hear the beans rattling around inside, they are good to go! This "rattle test" indicates that the beans have lost sufficient moisture to be hard and separate from the pod's inner walls. These perfectly dry beans can be harvested immediately, ready for shelling. We carefully collected all our completely dry pods and placed them into baskets, eager for the shelling process to begin.
Why On-Plant Drying is Ideal
Allowing beans to dry on the plant offers several advantages. Firstly, it's the most hands-off method, letting nature do the heavy lifting. The sun and air naturally reduce the moisture content, concentrating their flavor and ensuring they are adequately preserved. Secondly, beans that dry fully on the plant often have a more consistent dryness, which is crucial for preventing mold and spoilage during storage. This natural curing process contributes to the overall quality and longevity of your harvest. For a deeper dive into growing these specific varieties, check out our guide on
How to Grow & Dry Black and Yellow Eye Beans for Storage.
Indoor Drying Techniques for a Successful Harvest
While on-plant drying is ideal, it's not always achievable for every bean, or every climate. Sometimes, not all plants in a patch will dry out completely at the same rate. In our case, some of our
black and yellow beans needed a little extra help, requiring an additional two weeks to dry fully. This is a common scenario, especially in regions with unpredictable late-season weather or if you pick before a significant rain event is forecasted.
The Art of Air-Drying Indoors
For beans that aren't completely dry on the plant, bringing them indoors for air-drying is the best solution. We carefully harvested the still-greenish or partially dried plants, keeping the pods attached, and hung them in a well-ventilated stairwell. The key here is good air circulation and protection from the elements. Hanging entire plants in small bunches allows air to flow freely around all the pods, preventing moisture buildup and mold. It's paramount to dry them inside because an unexpected rainstorm could easily rehydrate your hard-earned harvest, undoing all your drying efforts and potentially leading to spoilage. Choose a space that is dry, has consistent airflow, and is away from direct sunlight (which can sometimes cause uneven drying). Basements, garages, or even an unused corner of a room can work, as long as they meet these criteria. You can also spread the pods out in a single layer on screens or old newspapers if you don't have space to hang them.
Monitoring and Ensuring Complete Dryness
Even when drying indoors, patience is a virtue. Our partially dried plants took about two weeks to reach complete dryness in the stairwell. During this time, it's important to periodically check on your beans. Gently squeeze the pods; they should feel brittle and snap easily. Revisit the "rattle test" for the individual beans inside the pods – they should be hard and distinct when shaken. Proper drying ensures your beans are ready for long-term storage, preventing any issues with mold or insect infestation. Once they are all dried and ready to be shelled, you've got yourself some beautiful, homegrown beans to enjoy and store for the winter! This careful attention to detail ensures the longevity and quality of your unique harvest, a true testament to the efforts of growing your own
Our First Successful Dry Bean Harvest: Black & Yellow Varieties.
Enjoying Your Bountiful Harvest: From Pod to Plate
The moment of shelling is incredibly satisfying – the culmination of months of nurturing and patient drying. There’s something meditative about cracking open each brittle pod to reveal the gleaming treasures inside. Our first batch of black beans was an absolute delight to behold. The rich, dark color and smooth texture were simply captivating. As soon as they were shelled, we were already enjoying them in recipes like our favorite tacos – a true farm-to-table experience that made us fall even more in love with our homegrown bounty.
Beyond their culinary versatility, the aesthetic appeal of homegrown beans is remarkable. Our black beans, glistening after shelling, looked incredible, especially when paired with colorful mason jars and a view of Brooklyn. Then there were the yellow eye beans, each one a tiny work of art. Their unique patterns and beautiful creamy color with a distinctive "eye" made them stand out. Seriously, each little bean had its own character, making the harvest even more special. The contemplation of recipes began immediately: homemade baked beans instantly came to mind, promising comforting, delicious meals. Growing your own dry beans opens up a world of culinary possibilities, from hearty soups and stews to vibrant salads and flavorful side dishes.
Conclusion
Growing and drying your own beans, particularly successful varieties like the
black and yellow beans we grew, is an incredibly rewarding endeavor. From the initial planting in June to the satisfying rattle of dry beans in September, every step of the process offers a unique connection to your food source. Whether your beans dry perfectly on the plant or require a little assistance indoors, understanding the nuances of proper drying techniques is crucial for a successful harvest. This year's experience has transformed our approach to growing bush beans, instilling confidence and excitement for future seasons. There's immense satisfaction in looking at a jar full of beautiful, homegrown beans, knowing they'll nourish you through the colder months. We hope our photo journey and tips inspire you to try growing your own dry beans. Have you ever grown your own beans, and were you surprised by the process? Share your experiences and relish in the joy of a truly homegrown harvest!